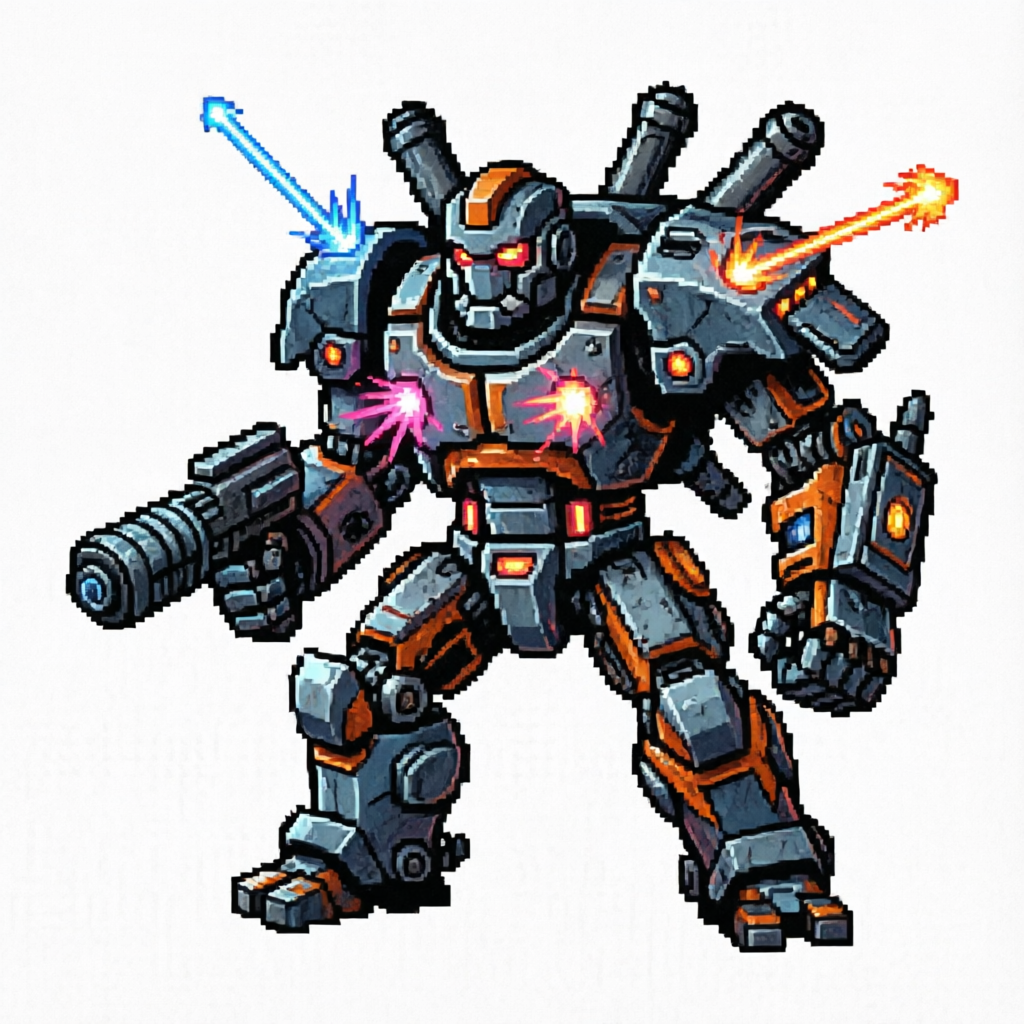
Build a Boss Beginner Guide: Complete Step-by-Step Encounter Design
Master encounter design with this build a boss beginner guide. Learn attack telegraphs, arena mechanics, scripting, and stat balancing tips.
Every memorable video game adventure hinges on a climatic showdown that tests everything the player has learned. If you are stepping into game development or tabletop creation, learning how to assemble an iconic encounter can feel overwhelming without clear direction. That is why this build a boss beginner guide breaks down the fundamentals into manageable, practical steps. Whether you build custom games in modern engines or design pen-and-paper campaigns, having a reliable build a boss beginner guide ensures your encounters remain challenging, fair, and fun rather than cheap or frustrating.
Bosses are more than just damage sponges with oversized health pools. A properly balanced adversary serves as an interactive puzzle that communicates mechanics, forces tactical movement, and rewards mastery. By focusing on core archetypes, clear player feedback, and structured phases, you can construct battles that leave a lasting impression.
Core Boss Archetypes and Combat Roles
Before writing scripts or calculating hit points, you must determine what role your boss plays in the combat space. A common mistake among novice designers is attempting to combine every mechanic into a single character. Instead, ground your boss in a distinct archetype.
Choosing an archetype establishes expectations for movement, speed, and attack patterns. It also informs how the arena should be laid out to support the encounter's natural rhythm.
| Archetype | Primary Focus | Strengths | Common Weaknesses | Best Arena Shape |
|---|---|---|---|---|
| The Juggernaut | High defense, heavy melee hits | Massive poise, area-denial swings | Slow movement, clear recovery windows | Open circular arena with cover |
| The Skirmisher | High mobility, hit-and-run | Elusive, hard to track | Low HP, vulnerable to crowd control | Multi-tiered with dash lanes |
| The Bullet Hell/Caster | Ranged projectile pressure | Tests positioning and dodging | Staggerable, weak up close | Wide arena with line-of-sight blocks |
| The Summoner | Adds and minion management | Overwhelms through action economy | Extremely fragile when cornered | Segmented zones with chokepoints |
| The Mirror Match | Mimics player toolkits | Unpredictable, reactive counters | Predictable cooldown timings | Symmetrical flat floor |
According to game design fundamentals outlined on Gamasutra (Game Developer), clear mechanical identity allows players to recognize tactical patterns within the first 30 seconds of an engagement. When you define the archetype early, designing attack behaviors becomes significantly more intuitive.
The Anatomy of an Attack: Telegraphs, Windows, and Hitboxes
Every attack pattern should follow an observable cadence. An unfair boss strikes without warning, whereas an engaging boss communicates its intentions clearly enough for an attentive player to react.
To build clean attack sequences, divide every boss ability into four distinct chronological phases:
- Anticipation (Wind-Up / Telegraph): The visual or audio cue alerting the player to what is coming. Examples include a raised blade, glowing eye, or specific sound effect.
- Active Frame (Execution): The actual strike, projectile launch, or area-of-effect trigger where damage is applied.
- Recovery (Cooldown): The window where the boss rests or resets, providing players an opening to counterattack.
- Follow-Through / Reposition: Movement back to neutral stance or preparation for the next cycle.
| Attack Type | Recommended Wind-Up | Active Window | Vulnerability Window | Player Response |
|---|---|---|---|---|
| Heavy Slam | 1.2 – 1.8 seconds | 0.2 seconds | 1.5 – 2.0 seconds | Dodge backward or jump |
| Sweeping Cleave | 0.8 – 1.0 seconds | 0.4 seconds | 1.0 second | Duck, parry, or iframe roll |
| Ranged Beam | 2.0 seconds (tracking laser) | 1.5 seconds | 2.5 seconds | Sprint laterally behind cover |
| Dash Thrust | 0.6 seconds | 0.3 seconds | 0.8 seconds | Side-step or interrupt |
If your playtesters frequently complain about "unavoidable damage," increase the wind-up duration or introduce high-contrast visual indicators on the arena floor. Clear communication always trumps raw difficulty.
Step-by-Step Implementation Workflow
When assembling your encounter, work iteratively. Community reports from novice creators across Roblox DevForum and indie modding communities show that building complex phase transitions before testing base movement almost always results in broken AI logic.
Follow this systematic roadmap when executing your design:
[Concept & Archetype] ➔ [Hitbox & Basic Movement] ➔ [Primary Attack Loop] ➔ [Telegraphing & VFX] ➔ [Phase Triggers] ➔ [Tuning & Playtesting]
1. Set Up Base Movement and Target Acquisition
Begin by assigning basic player-tracking behaviors. The entity must reliably detect the player, orient toward them, and maintain an optimal engagement distance without clipping through arena geometry.
2. Implement the Basic Attack Loop
Create a single dependable attack sequence. Ensure the boss walks into range, pauses, delivers the blow, and enters a brief idle recovery period before initiating the loop again.
3. Integrate Visual and Audio Feedback
Never leave an attack invisible. Add particle trails, floor decals, and distinct sound effects to the wind-up phase so the telegraph is impossible to miss.
4. Configure Multi-Stage Phase Triggers
Add health-based milestones that alter the fight's dynamic, preventing the encounter from feeling stale over its duration.
| Build Stage | Key Tasks | Validation Check |
|---|---|---|
| Stage 1: Graybox Prototype | Spawn basic mesh, set up pathfinding and basic collision | Entity pursues player without getting stuck on corners |
| Stage 2: Core Loop | Wire primary attack to target proximity | Damage registers accurately with clean collision bounds |
| Stage 3: Feedback Layer | Attach animations, audio cues, and telegraph decals | Player can dodge attacks solely by watching cues |
| Stage 4: Phase Mechanics | Add triggers at 75%, 50%, and 25% health thresholds | Boss switches attacks smoothly without desyncing |
| Stage 5: Polish & Balancing | Adjust damage multipliers, cooldowns, and rewards | Victory feels earned rather than accidental |
Applying this structural workflow prevents you from getting bogged down in cosmetic polish before the underlying gameplay mechanics function properly.
Phase Progression and Pacing Strategies
A fight that repeats the exact same attack pattern from full health to zero quickly becomes tedious. Implementing phase shifts introduces narrative tension and forces players to adapt their strategies mid-battle.
As you explore this build a boss beginner guide, structure your phase transitions to escalate stakes organically:
- Phase 1: The Tutorial (100% – 70% HP): Introduce the boss's two main attacks individually. Give generous recovery windows so players can learn the timing safely.
- Phase 2: The Combination (70% – 35% HP): Combine previously learned moves into combos. Add minor environmental hazards, such as falling debris or periodic ground fire, to restrict mobility.
- Phase 3: The Desperation Burn (35% – 0% HP): Shorten telegraph times slightly, alter movement speed, or introduce an ultimate ability that requires quick positioning. Ensure this phase remains fair rather than chaotic.
| Health Threshold | Boss Behavior Alteration | Arena Change | Design Objective |
|---|---|---|---|
| Phase 1 (100–70%) | Basic 2-hit attacks, slow pace | Pristine floor, full cover available | Teach fundamental attack patterns |
| Phase 2 (70–35%) | Cancels recoveries into secondary moves | Outer ring becomes hazardous | Test player multitasking and repositioning |
| Phase 3 (35–0%) | Enrage aura, accelerated movement | Cover objects destroyed | Create urgency and climactic finale |
Player experience shared in indie development groups emphasizes that phase changes should clearly announce themselves. Use an invulnerability roar, a brief cinematic pause, or an arena-shattering shockwave so the player understands the rules of engagement have evolved.
Arena Design and Environmental Dynamics
A boss fight is only as strong as the space where it takes place. Even a masterfully tuned opponent becomes frustrating inside a cramped room with erratic camera collisions.
Consider these vital arena design factors during production:
- Clear Sightlines: Avoid tall pillars or cluttered clutter that obscures player vision, especially when the camera shifts dynamically during heavy animations.
- Dynamic Boundaries: Use soft boundaries (like slow-damaging slime) rather than abrupt invisible walls to keep players oriented within the combat zone.
- Interactive Cover: If your boss fires lethal projectile volleys, provide destructible cover elements so players can trade defensive positioning for durability.
| Arena Element | Best Practice | Critical Mistake to Avoid |
|---|---|---|
| Floor Layout | High-contrast textures for clear telegraph visibility | Busy, dark textures that hide red indicator decals |
| Camera Space | Ceilings at least 3x character height | Low ceilings causing the camera to clip into character models |
| Cover Placement | Symmetrical distribution allowing circular kiting | Clusters of props that cause navigation mesh snagging |
| Boundary Walls | Distinct visual perimeters with distinct lighting | Unmarked drop-offs leading to accidental fall deaths |
Integrating your arena mechanics directly with boss attacks transforms a static slugfest into an engaging spatial dance.
Balancing Numbers: Health, Damage, and Time-to-Kill
Once the behavioral logic is operational, mathematical balancing dictates whether your fight feels rewarding or grueling. Relying on inflated numbers is the fastest way to turn an otherwise inventive encounter into a test of patience.
When consulting any build a boss beginner guide, evaluate your boss balance using the Time-to-Kill (TTK) equation:
Formel / Formula:
Estimated Fight Duration = (Boss Total HP) / (Average Player Damage Per Second (DPS) * Uptime Efficiency)
Note: Uptime Efficiency refers to the percentage of time a player can safely hit the boss while dodging mechanics (typically between 30% and 50%).
| Target Experience | Ideal Fight Duration | Player Mistake Tolerance | Boss Recovery Windows |
|---|---|---|---|
| Introductory Boss | 90 – 120 seconds | 5 – 6 lethal hits | Generous (2.0s+) |
| Mid-Game Milestone | 180 – 240 seconds | 3 – 4 lethal hits | Moderate (1.2 – 1.5s) |
| End-Game Climactic | 300 – 420 seconds | 2 – 3 lethal hits | Tight (0.6 – 1.0s) |
Following these guidelines keeps encounters concise. Any single-phase fight lasting longer than six minutes without fresh mechanics risks exhausting player attention.
Common Rookie Traps and How to Avoid Them
Even talented creators run into classic pitfalls when crafting their first major encounter. Review this checklist to safeguard your design from common flaws highlighted in community retrospectives:
- Unavoidable Area Attacks: Never spawn damage fields that instantly cover the entire floor without providing safe zones, jump timing, or interactive shields.
- Infinite Stun Locks: Ensure the boss cannot hit a player, knock them down, and strike them again before they regain character control. Always provide recovery invulnerability frames.
- Opaque Invulnerability Phases: If the boss shields itself, create an explicit, readable objective (such as destroying three glowing power nodes) rather than making players guess why their weapons deal zero damage.
- Excessive Tracking: If a heavy downward slash tracks the player up to the exact millisecond of impact, it eliminates dodging as a viable tactic. Lock rotation halfway through the wind-up animation.
Refining these edge cases distinguishes an amateurish encounter from a polished, memorable battle.
Frequently Asked Questions
What is the most important rule in this build a boss beginner guide?
The most critical rule is maintaining transparent communication through telegraphing. A player should always understand why they took damage and what action could have prevented it. Visual clarity and distinct wind-up cues ensure the battle feels fair.
How much health should a beginner boss have?
Aim for a total health pool that allows an average player to defeat the boss in approximately two to three minutes. In early prototypes, calculate your player's sustained damage per second and scale boss health so the encounter does not drag beyond three to four minutes maximum.
How many attacks does a basic boss encounter need?
A beginner encounter needs only three well-crafted moves: a standard fast attack to keep pressure, a heavy telegraphed attack that creates an opening, and one ranged or area-denial ability to prevent players from lingering safely at a distance.
How do I balance a boss fight for multiple player classes?
Ensure your arena contains opportunities for both melee and ranged strategies. Melee fighters need predictable recovery windows to deal damage safely, while ranged characters need arena cover and line-of-sight breaks to manage projectile threats.
Related Guides
Build a Boss Boss Guide: How to Design Epic Encounters and Mechanics
Master encounter creation with our complete build a boss boss guide. Learn boss archetypes, phase mechanics, arena design, and balancing secrets.
Build a Boss How to Make a Boss Fight Players Never Forget
Learn how to build a boss: how to make a boss encounter with unique phases, mechanics, and arena designs that challenge and engage players.
Build a Boss How to Spawn a Boss: Complete Summoning Guide & Mechanics
Master the sacrifice altar and festival summons with this guide on build a boss how to spawn a boss, sacrifice costs, and loot reward tiers.
Build a Boss: How to Make a Boss Fight That Keeps Players Hooked
Learn how to build a boss and craft memorable boss encounters. Explore pacing, telegraphing, arenas, and phase-based combat design.