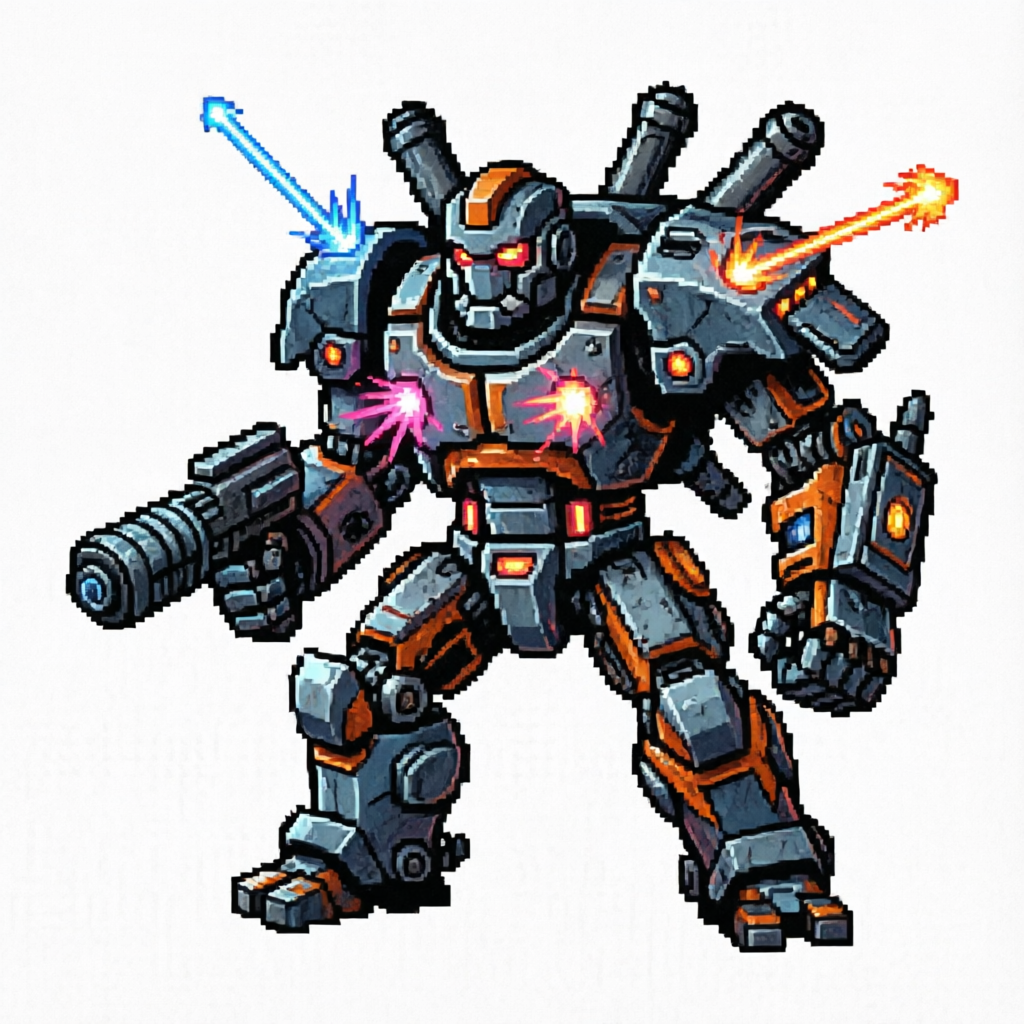
Build a Boss New Update Breakdown: Complete Patch Notes & Boss Crafting Guide
Explore the latest Build a Boss new update with our comprehensive patch breakdown, boss crafting mechanics, reward balance stats, and combat strategies.
If you have been looking to push your custom dungeon-crawling creations to their absolute limits, the latest patch has finally arrived. The long-awaited Build a Boss new update fundamentally overhauls how players design encounters, craft multi-phase behemoths, and farm exclusive tactical rewards. Whether you prefer running as an architect shaping lethal gauntlets or testing your skills as a slayer challenging community creations, this Build a Boss new update redefines core combat balance and sandbox customizability across the board.
In this deep-dive guide, we break down every major system rework, showcase newly added boss traits, provide step-by-step assembly tactics, and analyze updated stat multipliers to help you maximize your drop rates.
Major Patch Highlights: What Changed in the Latest Release?
This latest milestone expands both sandbox creation tools and competitive dungeon progression. Taking inspiration from modular systems seen in modern survival and builder titles—such as the snap-grid architecture highlighted in recent Rock Paper Shotgun coverage of sandbox action mechanics—the developers have replaced legacy snap systems with a dynamic node framework.
Players can now sculpt boss animations, tether dynamic hitbox phases, and assign elemental affixes directly through an intuitive visual canvas.
Core Feature Summary
The patch notes center on five primary pillars:
- Modular Phase Stacking: Chain up to four distinct phases per boss encounter, each with independent health pools and attack sequences.
- Permafrost & Elemental Overhauls: Brand-new status ailments, including deep freeze, brittle armor, and shock chain reactions.
- Dynamic Scaling Engine: Automatically adjusts boss HP and damage outputs based on incoming party size (1 to 4 players).
- Consolidated Reward Economy: Earn specialized Crafting Shards and Boosters directly from high-tier clears.
- QoL Node Canvas: Seamless drag-and-drop mechanics to link attack telegraphs with environmental hazards.
| Update Feature | Previous Version | Current Version (Patch 0.4.5) | Impact on Gameplay |
|---|---|---|---|
| Max Boss Phases | 2 static phases | Up to 4 dynamic phases | Extended fight variety and stamina testing |
| Placement Precision | Grid-locked radial | Freeform Node Snapping | Smoother arena layout and hit detection |
| Status Effects | 3 base elements | 8 blended elements | High-synergy gear builds required |
| Party Scaling | Flat 1.5x multiplier | Variable 1.1x–2.8x curve | Fairer solo play and challenging group runs |
| Blueprint Sharing | Local save only | Global Community Hub | Direct download and rating of player builds |
New Boss Archetypes and Component Stats
The foundation of the Build a Boss new update rests on newly unlocked archetypes. Instead of settling for simple brute brawlers, creators can combine mechanical frames with bio-elemental cores. Community reports indicate that pairing the newly released Cryo-Chitin chassis with the Permafrost Core yields one of the toughest defensive challenges in the game.
To build an efficient boss, you need to understand how core chassis parts interact with base modifiers.
Archetype Stat Benchmarks
| Chassis Model | Armor Class | Base Movement | Base Health Cap | Inherent Trait | Recommended Role |
|---|---|---|---|---|---|
| Colossus Mk-IV | Heavy (65% Res) | 280 units/s | 120,000 HP | Unstoppable Plating | Pure Tank / Attrition |
| Viper Stalker | Light (25% Res) | 520 units/s | 45,000 HP | Shadow Veil Blink | Burst Damage / Ambush |
| Cryo-Chitin Dread | Medium (45% Res) | 340 units/s | 85,000 HP | Frostbite Aura | Crowd Control / Zone Denial |
| Aether Conduit | Cloth (15% Res) | 390 units/s | 60,000 HP | Arc Resonance | Ranged / Spellcaster |
| Molten Juggernaut | Heavy (55% Res) | 310 units/s | 105,000 HP | Magma Cleave | Area-of-Effect Hazard |
Attack Telegraph Modifiers
Attack customization has been greatly expanded. When designing an encounter, architects can fine-tune telegraph windows to balance fairness and difficulty:
- Visual Cone Telegraphs: Yellow indicates safe dodge timing (1.2s delay); Crimson warns of lethal unblockables (0.6s delay).
- Rotational Beams: Sweeping lazers that force raid members to coordinate vertical jumps or terrain climbs.
- Puddle Saturation: Residual zone hazards that penalize static dps strategies by denying ground space.
Step-by-Step Guide: Crafting Your First Custom Encounter
Designing a balanced boss fight requires matching your arena layout to your boss's mobility profile. If your boss relies on sweeping frontal attacks, building a cramped room leads to frustrating deaths rather than rewarding encounters.
Follow these practical steps to construct an engaging battle:
[Select Chassis Frame] ➔ [Attach Elemental Core] ➔ [Assign Phase Triggers] ➔ [Place Arena Hazards] ➔ [Calibrate Drop Tables]
1. Frame and Core Calibration
Start by picking a primary chassis from the workshop table. Slot your core into the designated power node. For example, socketing an Ice Core into a Cryo-Chitin frame grants natural resistance to frost damage while doubling its chilling aura radius.
2. Phase Trigger Logic
Configure health gates within the builder interface. Most successful designers establish three distinct thresholds:
- Phase 1 (100% - 70% HP): Introductory sequence to showcase primary melee swings and standard dodge windows.
- Phase 2 (69% - 30% HP): Arena alterations take effect; add minion spawns or environmental traps.
- Phase 3 (29% - 0% HP): Enrage phase featuring halved telegraph windows, increased boss attack speed, and expanding hazards.
3. Hazard Distribution
Avoid clustering ground hazards directly beneath the boss spawn. Distribute pillars or elevated outcroppings so ranged combatants have tactical vantage points, while keeping the main floor open for dodge-rolling melee players.
Loot Pool Adjustments, Shard Drop Rates, and Economy
Economic balancing was a primary goal for the team in this release. Prior to this patch, farming elite encounters often yielded inconsistent salvage. The Build a Boss new update introduces normalized reward tiers governed by clear encounter complexity metrics.
The more complex and mechanic-dense your boss is, the higher the loot multiplier awarded to teams that manage to take it down.
Encounter Rating vs. Loot Multipliers
| Difficulty Rating | Active Mechanics Required | Base Drop Multiplier | Shard Yield (Per Clear) | Elite Blueprint Drop Chance |
|---|---|---|---|---|
| Novice (Tier 1) | 1–2 base attacks | 1.0x | 10–15 Shards | 1.5% |
| Adept (Tier 2) | 3 attacks + 1 hazard | 1.4x | 25–35 Shards | 4.0% |
| Master (Tier 3) | 4 attacks + 2 phases + 1 hazard | 2.1x | 60–80 Shards | 9.5% |
| Nightmare (Tier 4) | 5+ attacks + 3 phases + dynamic enrage | 3.2x | 120–160 Shards | 18.0% |
| Apex (Tier 5) | Full node saturation + extreme affixes | 4.5x | 250–320 Shards | 35.0% |
Resource Spending Guide
Player experience underscores the importance of spending your hard-earned Crafting Shards efficiently:
- Priority 1: Core Slot Unlockers. Expanding core slots allows you to run hybrid elemental synergies (e.g., Lightning + Frost for shatter combos).
- Priority 2: Movement Speed Frames. Faster frames produce unpredictable encounter patterns that elevate fight ratings.
- Priority 3: Cosmetic Armor Kits. Purely visual flairs that demonstrate prestige in community challenge directories.
Combat Strategies: How to Defeat Updated Boss Encounters
Conquering custom designs requires updated team compositions and disciplined execution. With status ailments reworked in the Build a Boss new update, relying entirely on brute physical damage will leave your party stalling against hardened armor plates.
Recommended Party Compositions
| Team Role | Primary Weapon Archetype | Recommended Core Perk | Primary Objective |
|---|---|---|---|
| Vanguard (Tank) | Tower Shield & Kinetic Mace | Fortified Bulwark | Hold boss positioning and absorb directional slams |
| Striker (Melee DPS) | Dual Daggers / Curved Greatsword | Armor Shredder | Exploit backstab hitboxes during telegraph windups |
| Artificer (Support) | Restorative Staff | Haste Field | Dispel frostbite stacks and buff party movement |
| Deadeye (Ranged DPS) | Compound Longbow | Piercing Apex | Focus down summoned adds and burst target weak spots |
Combat Tactics Checklist
- Watch the Ground Glyphs: The new telegraph system projects subtle geometric lines prior to wide-area detonations. Never burn your dodge stamina until the glyph locks its outline.
- Manage Stagger Meters: Continual blunt damage builds up the stagger gauge beneath the boss's health bar. Save your highest-damage cooldowns for the 6-second vulnerability window triggered by a stagger break.
- Rotate Defensive Cooldowns: Enrage phases hit significantly harder now. Coordinate your support's shielding abilities immediately when a boss drops below its final 30% health threshold.
Community Blueprints and Creator Spotlight
One of the standout additions in this patch cycle is the integrated Community Archive. Players can publish their creations directly to the public registry, allowing any server to import, rate, and battle community bosses.
Community reports show three player-made encounters dominating the leaderboards this week:
- The Frostbite Monolith: A defensive puzzle boss crafted with maximum Permafrost affixes. Defeating it requires rotating heat beacons to clear chilling stacks.
- Volt-Runner Prime: A high-speed Viper chassis setup that tests party reaction times with rapid directional dashes.
- Infernal Architect: An encounter where the boss actively places its own arena walls, gradually shrinking the combat perimeter over the course of the battle.
Participating in these community challenges awards bonus weekly vouchers, accelerating your path toward unlocking top-tier frame modifications.
Frequently Asked Questions
What are the biggest changes in the Build a Boss new update?
The primary additions in the Build a Boss new update include a 4-phase dynamic sequence builder, freeform node-based snapping tools, overhauled permafrost and elemental status interactions, and adjusted drop scaling based on fight complexity.
How do I unlock Tier 5 Apex blueprints?
Apex blueprints drop exclusively from Tier 4 and Tier 5 community or custom-rated battles. Achieving high clear grades with minimal player knockdowns increases the baseline blueprint drop chance up to 35%.
Can I run custom boss fights completely solo?
Yes. Thanks to the newly integrated dynamic scaling curve, boss health and attack frequencies automatically tune down when entering an encounter solo, providing a balanced experience for lone players.
What should I do if my custom boss fails validation?
Validation errors usually occur when phase transitions overlap or if an arena hazard cuts off all reachable floor paths. Ensure your combat zone maintains open traversal corridors and that telegraph timers meet minimum wind-up requirements.
Related Guides
Build a Boss Update: How Custom Boss Battles Can Transform Minecraft Survival
Explore the ultimate build a boss update concept for Minecraft, featuring custom boss summon designs, progression reworks, arena tips, and boss concepts.
How to Build a Boss: New Bosses Design Guide, Balancing, and Mechanics
Master encounter design with our guide on how to build a boss. Create thrilling new bosses with custom stats, phased arenas, and balanced mechanics.